Using Materials Instead of Geometry in Revit
There are certain situations in Revit where using materials offers a viable alternative to geometry and comes with a number of advantages.
Using Materials Instead of Geometry in Revit
There are certain situations in Revit where using materials offers a viable alternative to geometry and comes with a number of advantages.

Back in September we published a blog post covering 5 common mistakes in manufacturer Revit content. In this post, we’re going to take a closer look at how using materials in Revit can help avoid some of those issues.
In the past, materials in Revit were a bit of a difficult topic, as we had to work with limited textures and a narrow range of functions. From 2012-2018 materials were the number one reason why my Revit would crash, and I would frequently find myself amending material assets while grimacing.
That's changed in recent years. Using materials to create families is now a viable alternative to using geometry, and this comes with a number of advantages.
Here’s a rundown of 3 situations we commonly encounter that highlight the benefits of using materials instead of geometry.
1) When geometry doesn't add value or display properly at all scales
We often see manufacturers and content creators place logos on Revit families. We advise our manufacturer clients not to do this because they weigh down the file size and rarely add anything of value to a model.
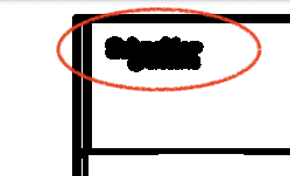
Logos created with 3D geometry require vast amounts of lines in close proximity to each other. This is a recipe for a bad deliverable. Plotting this on a drawing will tend to look like a blob of ink (as seen in the image below) or at best it will unnecessarily draw the eye towards this area.
If a logo is truly needed, then a better way to achieve it is by using a custom material. For an example of this, see the custom material logo for the ATOS supercomputer below.
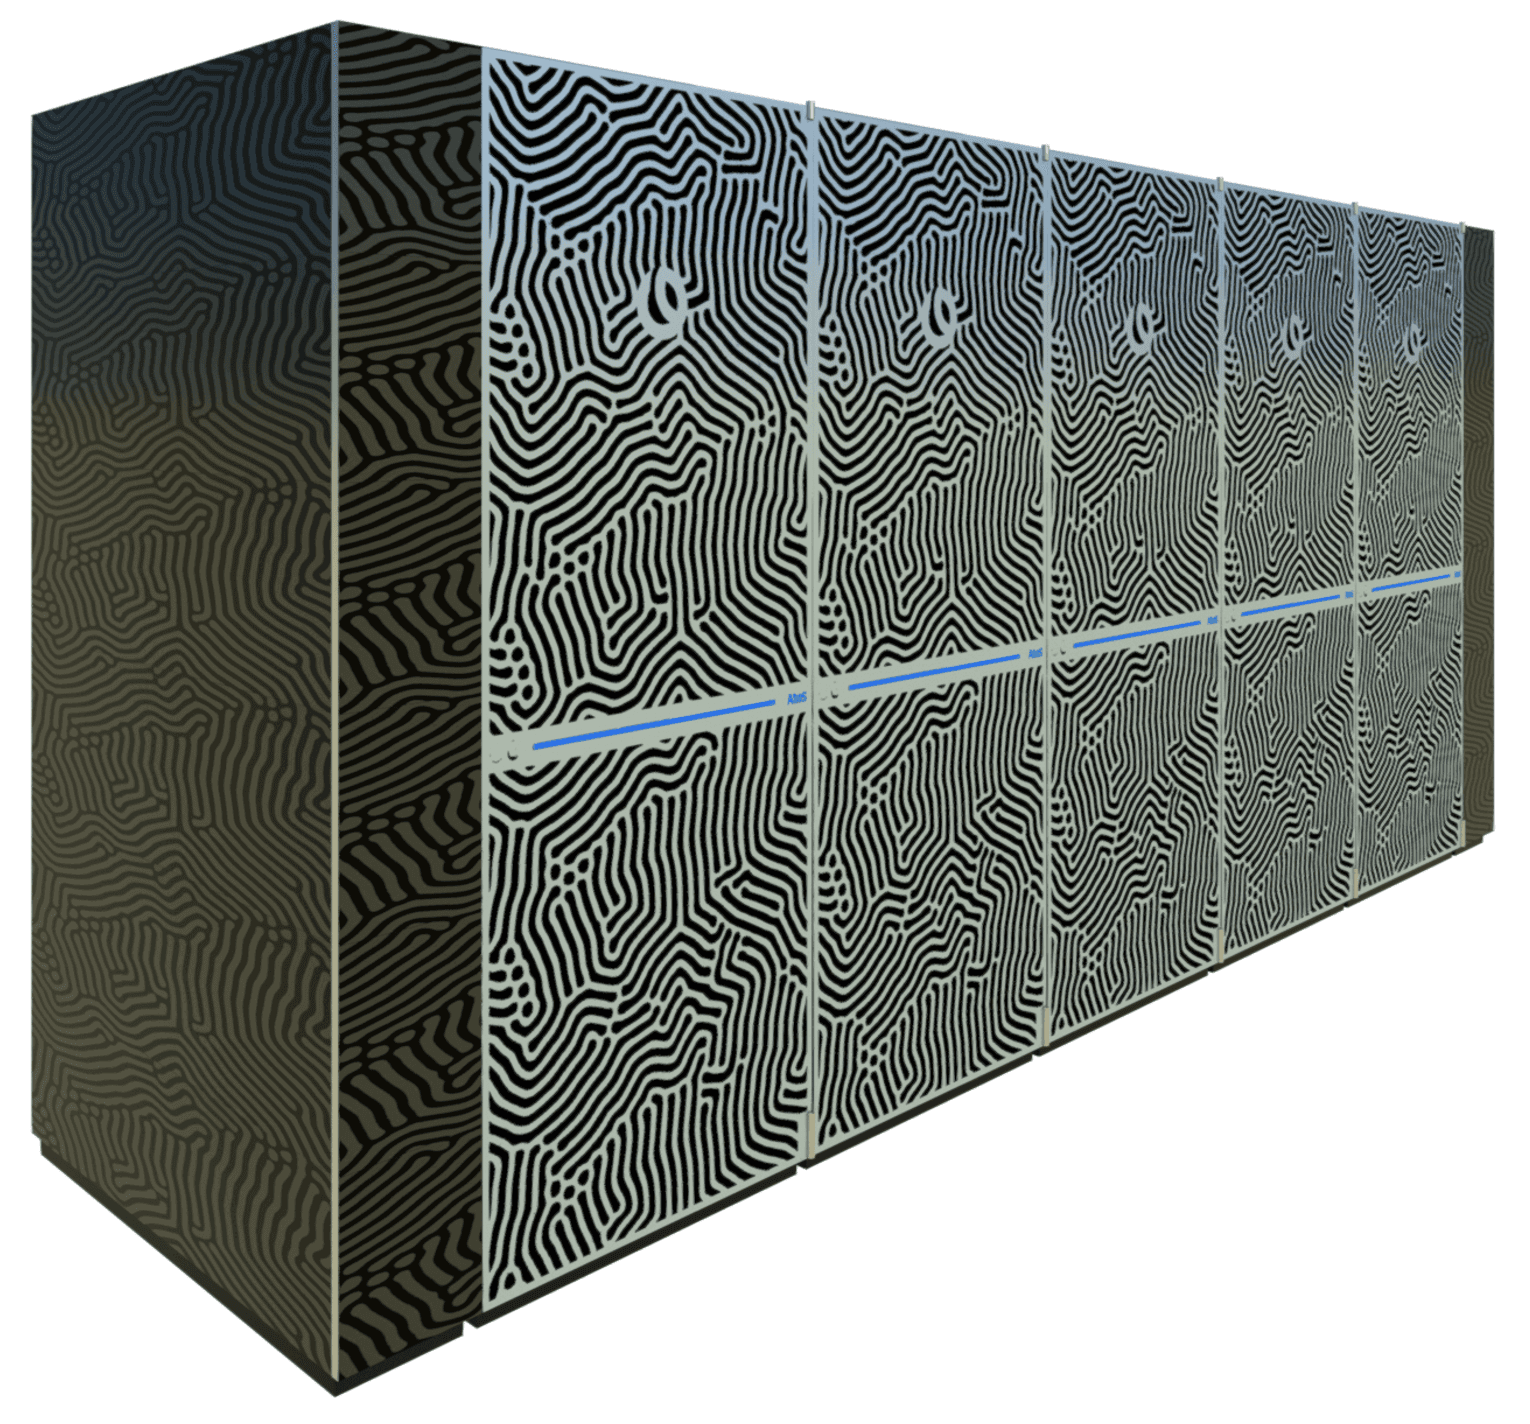

This material was never intended for a logo, and we could have cleaned it up a bit more. But even in its current state, at the appropriate scale the custom material clearly shows the logo. The other benefit to including the logo in a material is that it will only show in a render or realistic shade mode, which will not affect plotted coordination drawings.
2) When geometry would be too complex to look accurate and flex
The best use of materials in Revit is one that delivers aesthetic detail while saving time.
You can model many family details in 3D geometry, such as fan shrouds, but doing so takes a lot of time and requires heavy computing power to display. Save yourself time and save Revit resources by portraying details like this through materials instead.
Fan shrouds are very common elements in the world of HVAC. They are a feature on condenser units, air conditioning units and heat pumps to name just a few. We’ve seen some examples of equipment with shrouds modeled as a revolve, such as the one below.
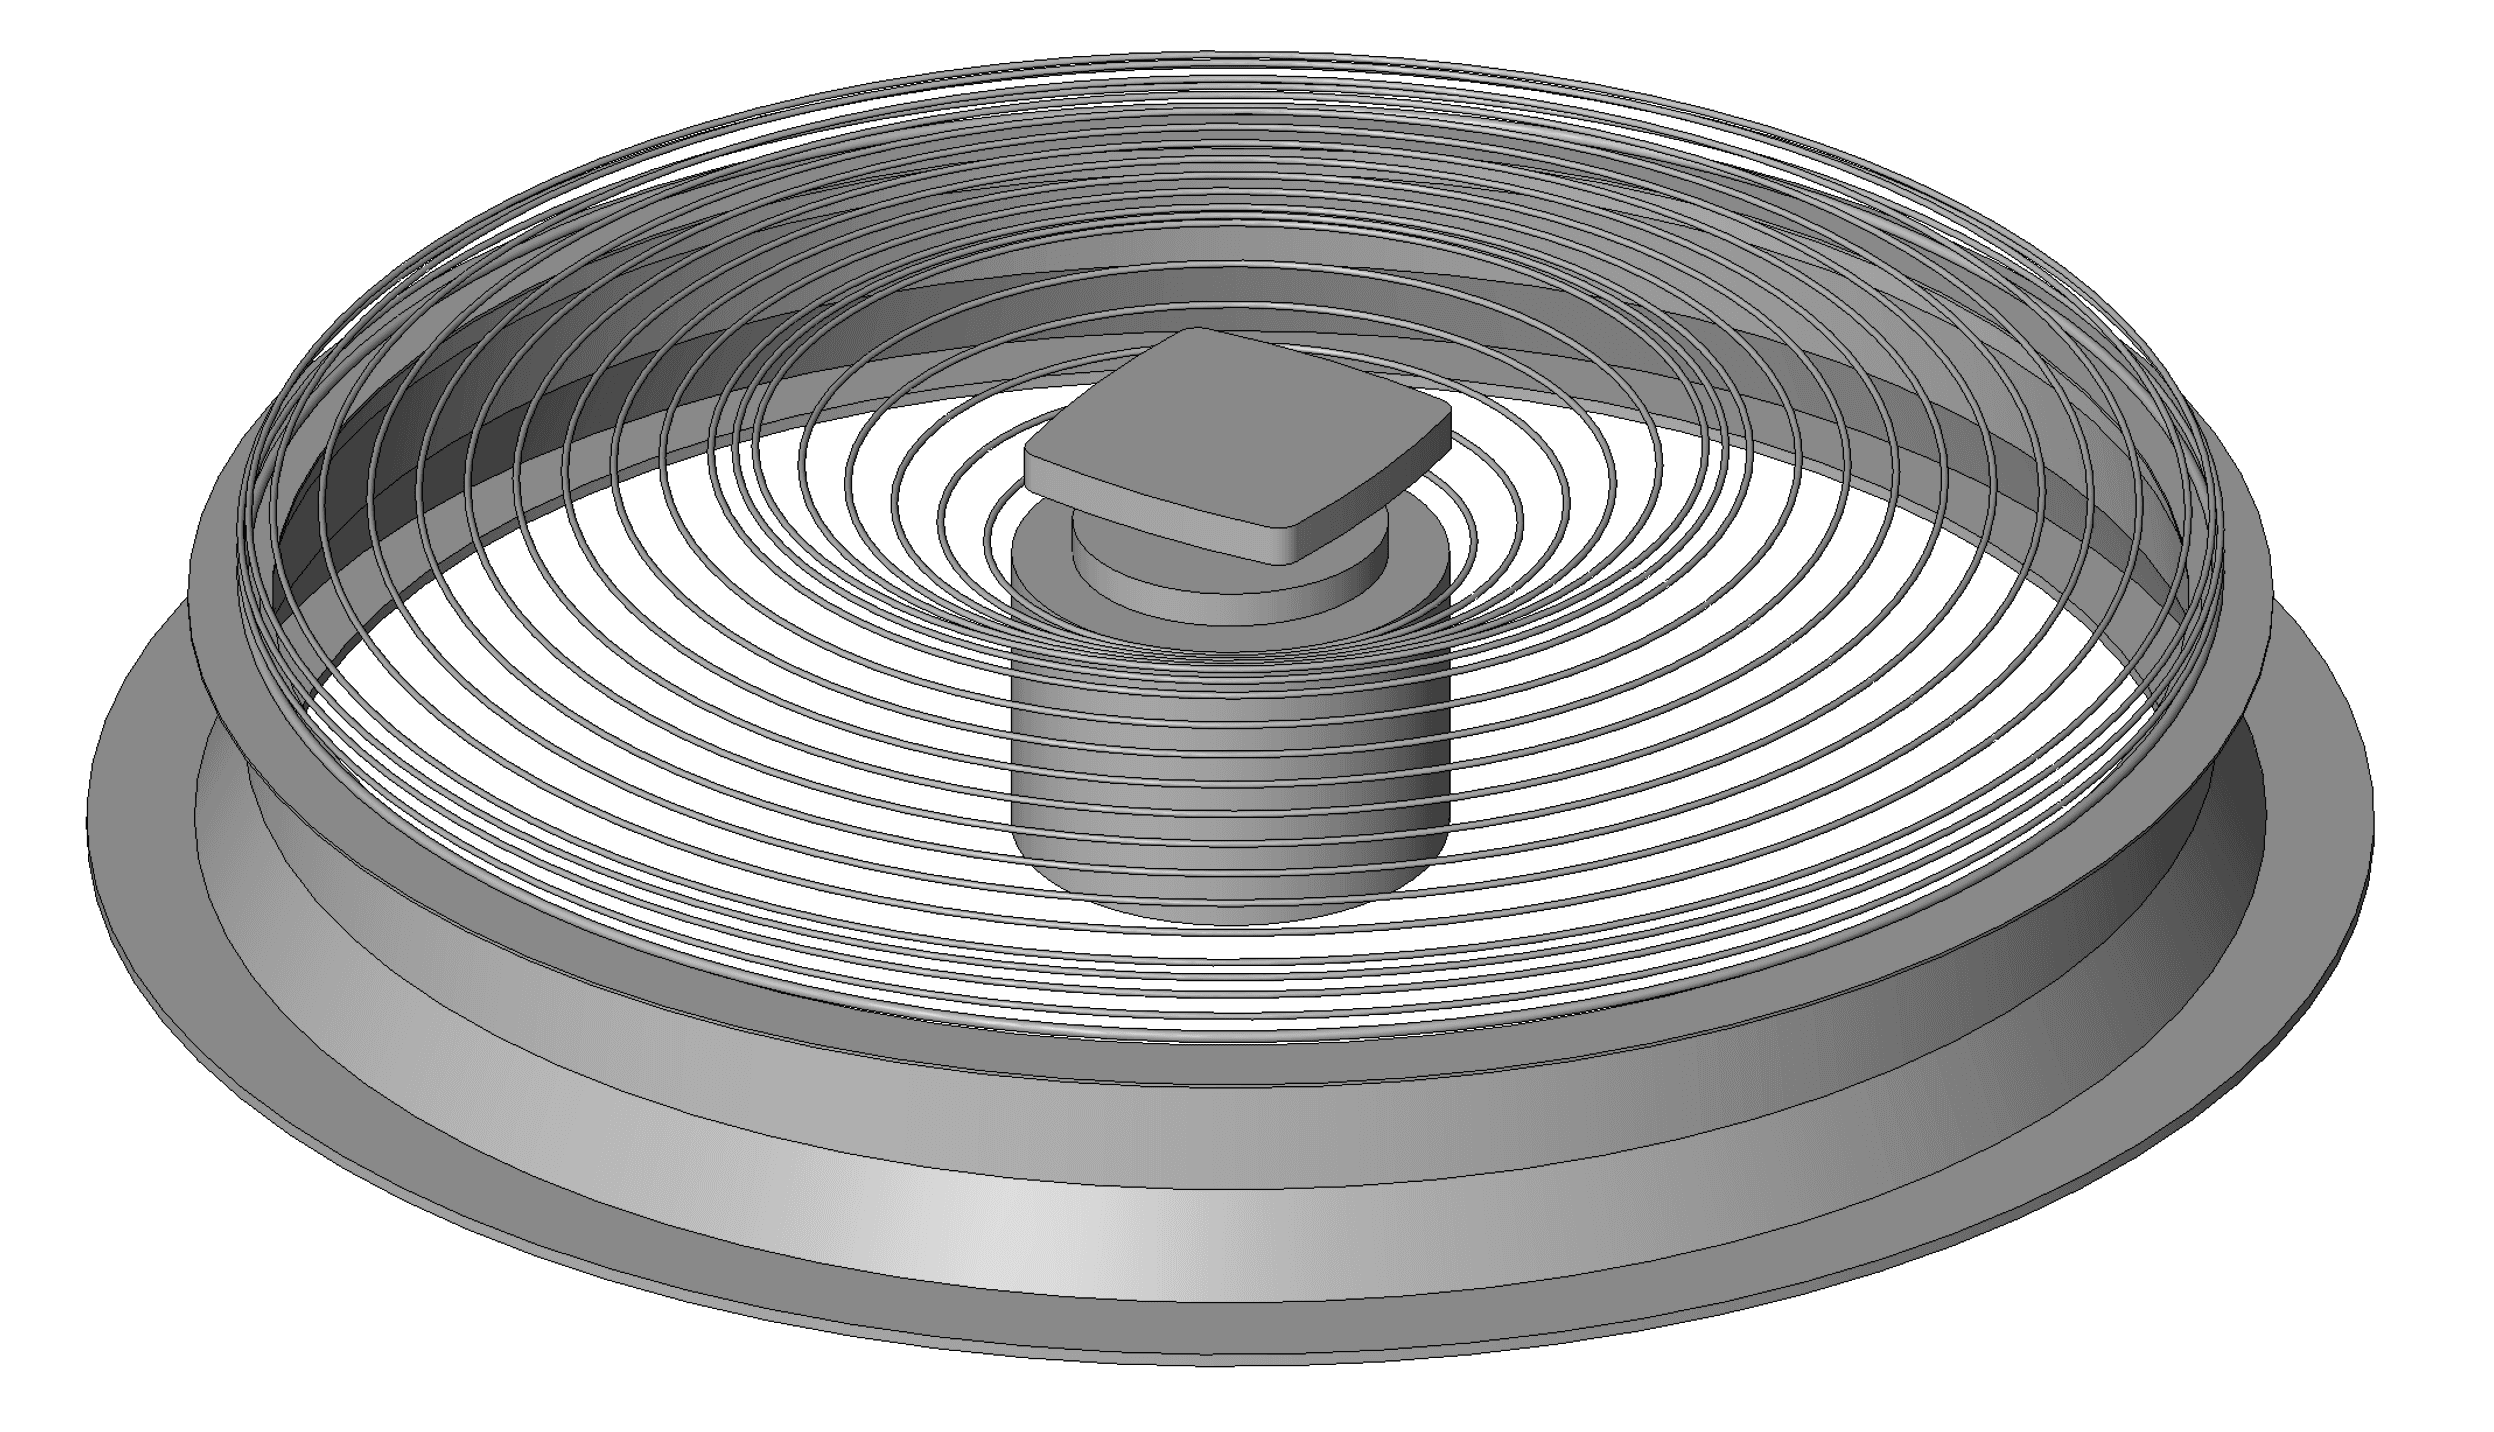
There are two main problems with this approach:
It’s incredibly hard to achieve flexibility. I would be surprised if the above revolve didn’t break when changing the height and diameter of the fan.
Despite the effort put into creating this, it still doesn’t deliver a realistic shroud. A series of rings is good but still lacks some of the shapes and lines.
In contrast, below is our nested fan family that we use regularly for HVAC content. It’s fully parametric, allowing changes in size without breaking.
The shroud on the fan is a revolve with an OOTB mesh material asset applied. The mesh is simply stretched along one axis to give the appearance of a ring. The guard extrusion then has another OOTB mesh material asset to suggest a wireframe makeup.
The fan blades use another material with custom .png files for image and relief.
3) When you need to scale quickly and seamlessly
Scalability is another good reason to use materials instead of geometry.
In our solar panel array below, we wanted to achieve the crystalline effect you can see in photovoltaic modules.
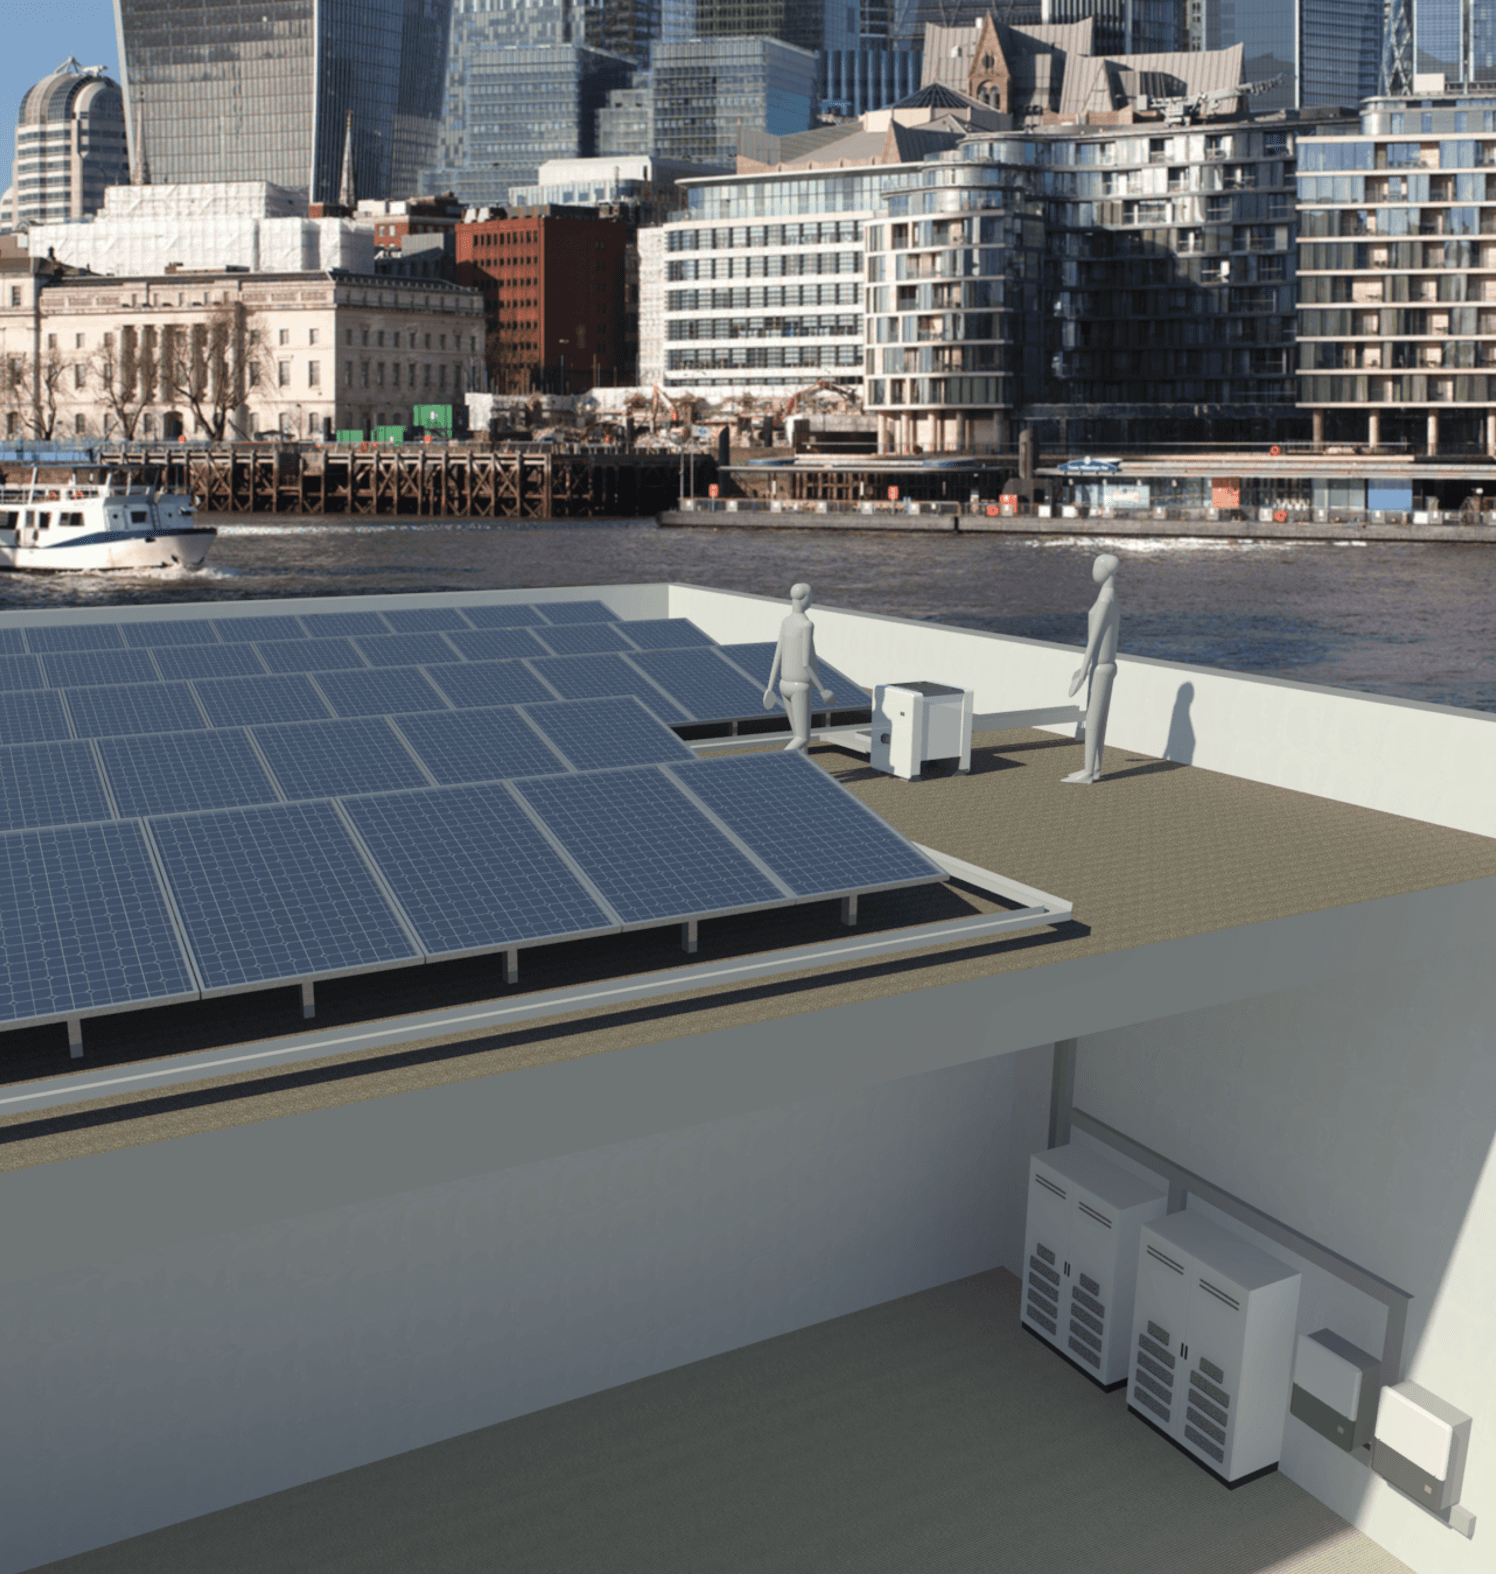
If we were to model this with geometry, we would have had to create the cell and then array it in two axes in order for it to be scalable. To create a perfect array, we would also need to introduce some kind of offset to adjust to certain sizes or a border. And there would be a good chance we’d need to use a void to cut into the array to tidy things up. These methods aren’t necessarily hard to do, but they take up a lot of time.
Instead, we simply used a tile flooring finish from Revit’s standard material library to achieve the desired crystalline effect. It always makes life a little easier if you can use images from the default Revit library. This avoids users needing to path image locations into the materials or the render file locations, or needing to move material image files around.
Leverage Revit’s materials library
When creating materials, it’s good practice to experiment with Revit's out of the box images. Remember, you don’t necessarily have to use the material images for their intended purposes or use the entire material. There’s lots of room to use them creatively. If there is a particular aspect you like, then it’s possible to manipulate the image to achieve what you want, so keep a close eye out for details that you may want to come back to later.
We make a lot of content for manufacturers Vertiv and Carrier, and, due to the nature of their equipment, we need to model many louvers and grilles. I’ve always tried to veer away from modeling louver blades themselves. Sometimes we do it, but this can use a fair amount of file size and sometimes the family is already large and approaching what we would consider an upper limit. It’s always bugged me that Revit doesn’t have any louver material, only meshes and grilles.
Last year we finally created a nice louver material, as seen below in this air curtain from Miniveil. This louver uses a wood cladding bump image from Revit’s standard material library. You can stretch the asset to essentially remove the wooden grain, leaving a series of gradients from black to white.
With an appropriate depth applied to the bump, this then creates the louver’s series of blades at 45 degrees. We can adapt this material to suit different blade heights and reuse it in many projects to come, saving countless hours modeling blade extrusions.
Context matters
It’s important to note that the aim of using materials instead of geometry isn’t to create something that looks photo-realistic or something that rivals a detailed model in Inventor or 3D Studio Max. The aim is to bring enough detail at the desirable scales – to visually suggest the real thing and give an impression of the material at a distance.
Dabs of red paint don’t mean much when you’re zoomed in to them in a painting.

But when put into the context of the whole work of art and seen from an appropriate distance they take on a whole new meaning. Keep this in mind when using materials in Revit.

Keep this in mind when using materials in Revit. We may not be creating priceless works of art like Monet, but we can create beautiful content that effectively portrays the real thing and performs brilliantly in Revit projects.
Need content?
If your company is looking for quality Revit content at an affordable price, give us a shout at hello@kinship.io. We'll be happy to provide a free, no-obligation quote.
Back in September we published a blog post covering 5 common mistakes in manufacturer Revit content. In this post, we’re going to take a closer look at how using materials in Revit can help avoid some of those issues.
In the past, materials in Revit were a bit of a difficult topic, as we had to work with limited textures and a narrow range of functions. From 2012-2018 materials were the number one reason why my Revit would crash, and I would frequently find myself amending material assets while grimacing.
That's changed in recent years. Using materials to create families is now a viable alternative to using geometry, and this comes with a number of advantages.
Here’s a rundown of 3 situations we commonly encounter that highlight the benefits of using materials instead of geometry.
1) When geometry doesn't add value or display properly at all scales
We often see manufacturers and content creators place logos on Revit families. We advise our manufacturer clients not to do this because they weigh down the file size and rarely add anything of value to a model.
Logos created with 3D geometry require vast amounts of lines in close proximity to each other. This is a recipe for a bad deliverable. Plotting this on a drawing will tend to look like a blob of ink (as seen in the image below) or at best it will unnecessarily draw the eye towards this area.
If a logo is truly needed, then a better way to achieve it is by using a custom material. For an example of this, see the custom material logo for the ATOS supercomputer below.
This material was never intended for a logo, and we could have cleaned it up a bit more. But even in its current state, at the appropriate scale the custom material clearly shows the logo. The other benefit to including the logo in a material is that it will only show in a render or realistic shade mode, which will not affect plotted coordination drawings.
2) When geometry would be too complex to look accurate and flex
The best use of materials in Revit is one that delivers aesthetic detail while saving time.
You can model many family details in 3D geometry, such as fan shrouds, but doing so takes a lot of time and requires heavy computing power to display. Save yourself time and save Revit resources by portraying details like this through materials instead.
Fan shrouds are very common elements in the world of HVAC. They are a feature on condenser units, air conditioning units and heat pumps to name just a few. We’ve seen some examples of equipment with shrouds modeled as a revolve, such as the one below.
There are two main problems with this approach:
It’s incredibly hard to achieve flexibility. I would be surprised if the above revolve didn’t break when changing the height and diameter of the fan.
Despite the effort put into creating this, it still doesn’t deliver a realistic shroud. A series of rings is good but still lacks some of the shapes and lines.
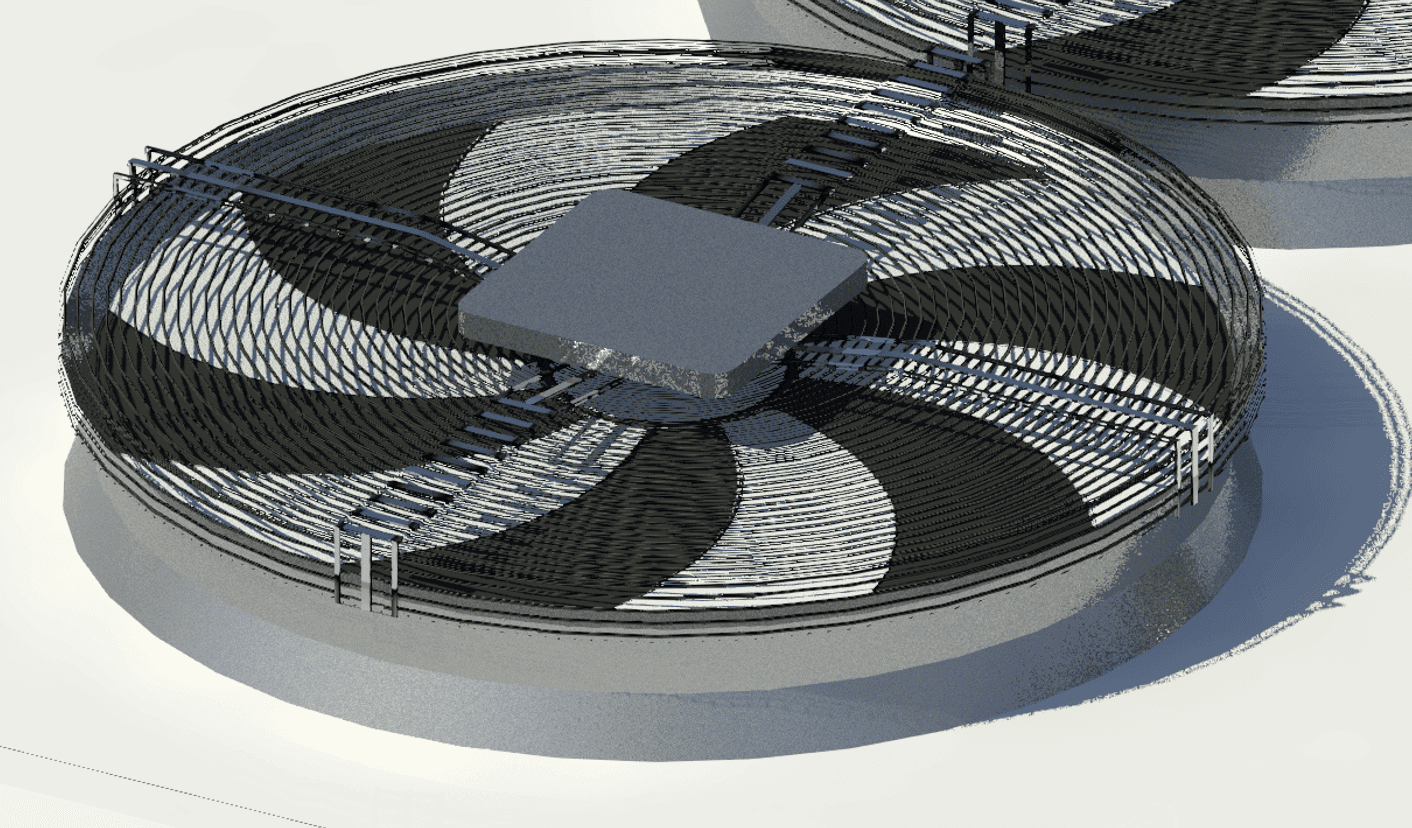
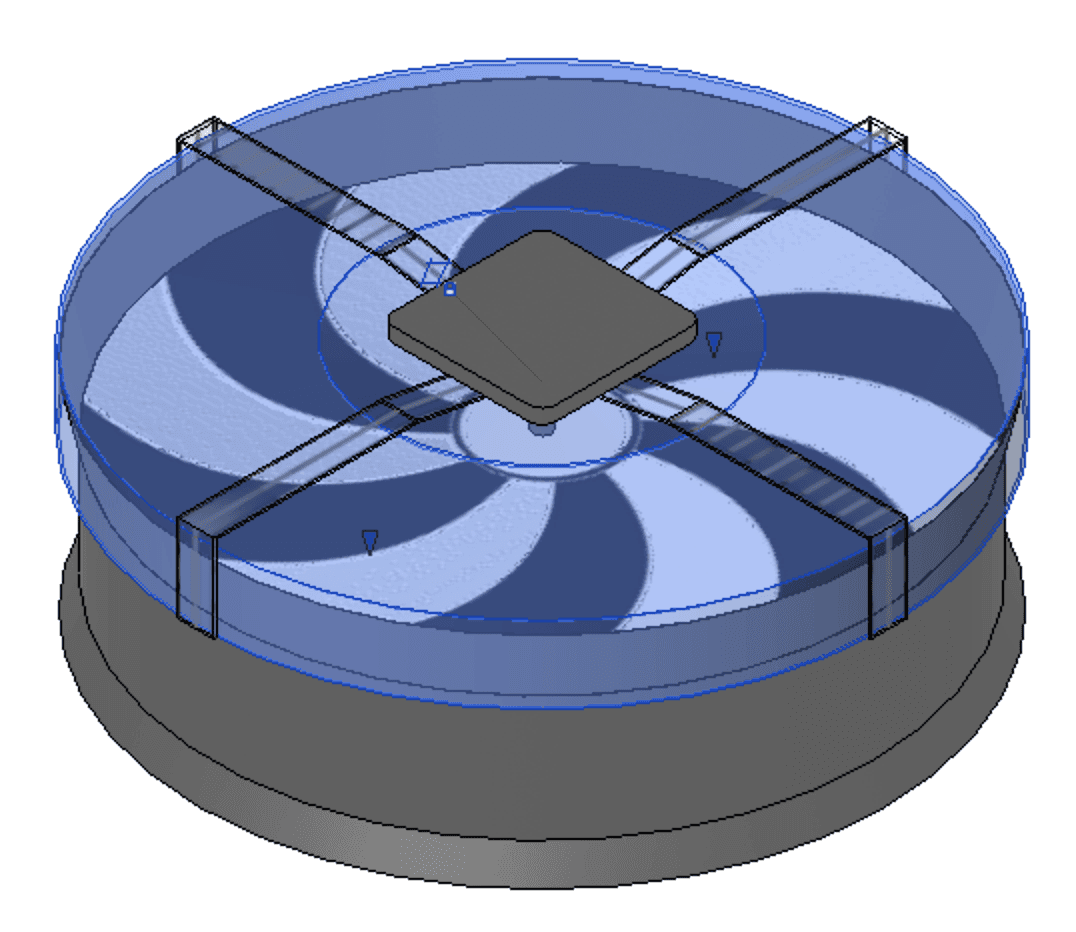
In contrast, below is our nested fan family that we use regularly for HVAC content. It’s fully parametric, allowing changes in size without breaking.
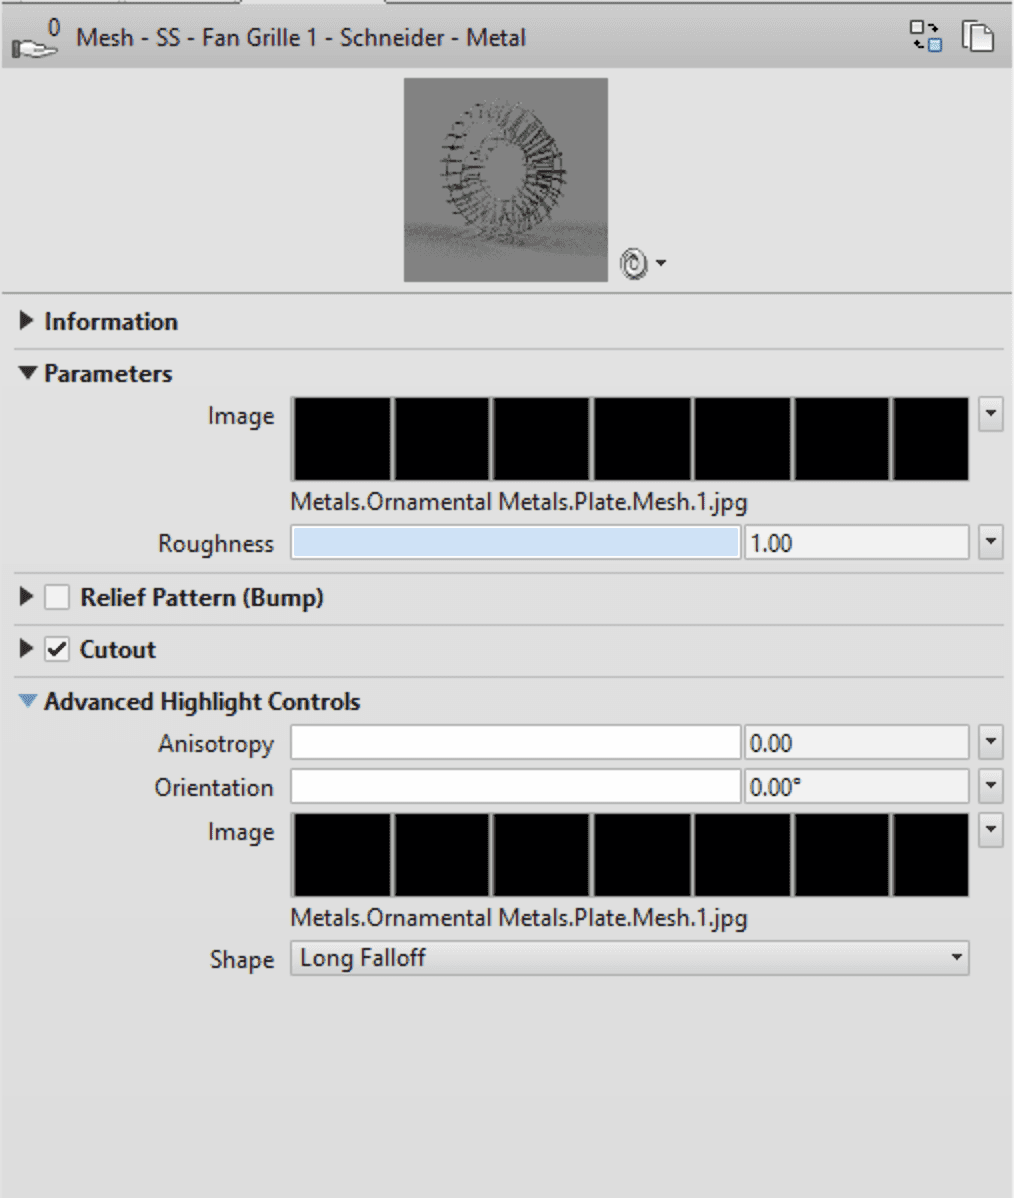
The shroud on the fan is a revolve with an OOTB mesh material asset applied. The mesh is simply stretched along one axis to give the appearance of a ring. The guard extrusion then has another OOTB mesh material asset to suggest a wireframe makeup.
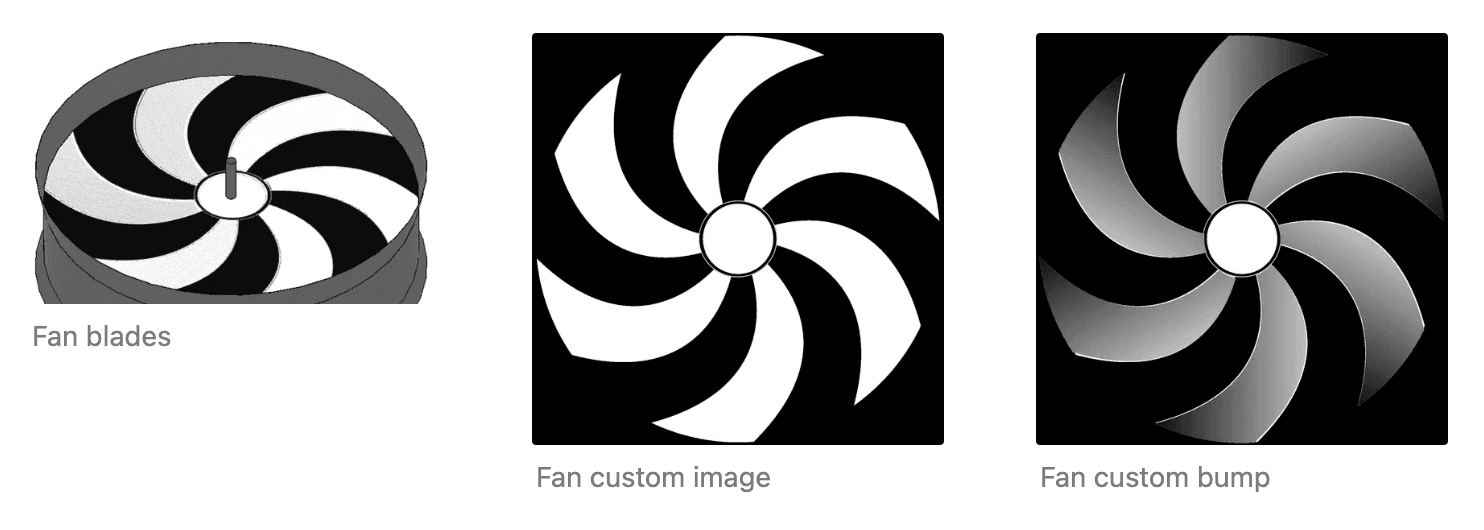
The fan blades use another material with custom .png files for image and relief.
3) When you need to scale quickly and seamlessly
Scalability is another good reason to use materials instead of geometry.
In our solar panel array below, we wanted to achieve the crystalline effect you can see in photovoltaic modules.
If we were to model this with geometry, we would have had to create the cell and then array it in two axes in order for it to be scalable. To create a perfect array, we would also need to introduce some kind of offset to adjust to certain sizes or a border. And there would be a good chance we’d need to use a void to cut into the array to tidy things up. These methods aren’t necessarily hard to do, but they take up a lot of time.
Instead, we simply used a tile flooring finish from Revit’s standard material library to achieve the desired crystalline effect. It always makes life a little easier if you can use images from the default Revit library. This avoids users needing to path image locations into the materials or the render file locations, or needing to move material image files around.
Leverage Revit’s materials library
When creating materials, it’s good practice to experiment with Revit's out of the box images. Remember, you don’t necessarily have to use the material images for their intended purposes or use the entire material. There’s lots of room to use them creatively. If there is a particular aspect you like, then it’s possible to manipulate the image to achieve what you want, so keep a close eye out for details that you may want to come back to later.
We make a lot of content for manufacturers Vertiv and Carrier, and, due to the nature of their equipment, we need to model many louvers and grilles. I’ve always tried to veer away from modeling louver blades themselves. Sometimes we do it, but this can use a fair amount of file size and sometimes the family is already large and approaching what we would consider an upper limit. It’s always bugged me that Revit doesn’t have any louver material, only meshes and grilles.
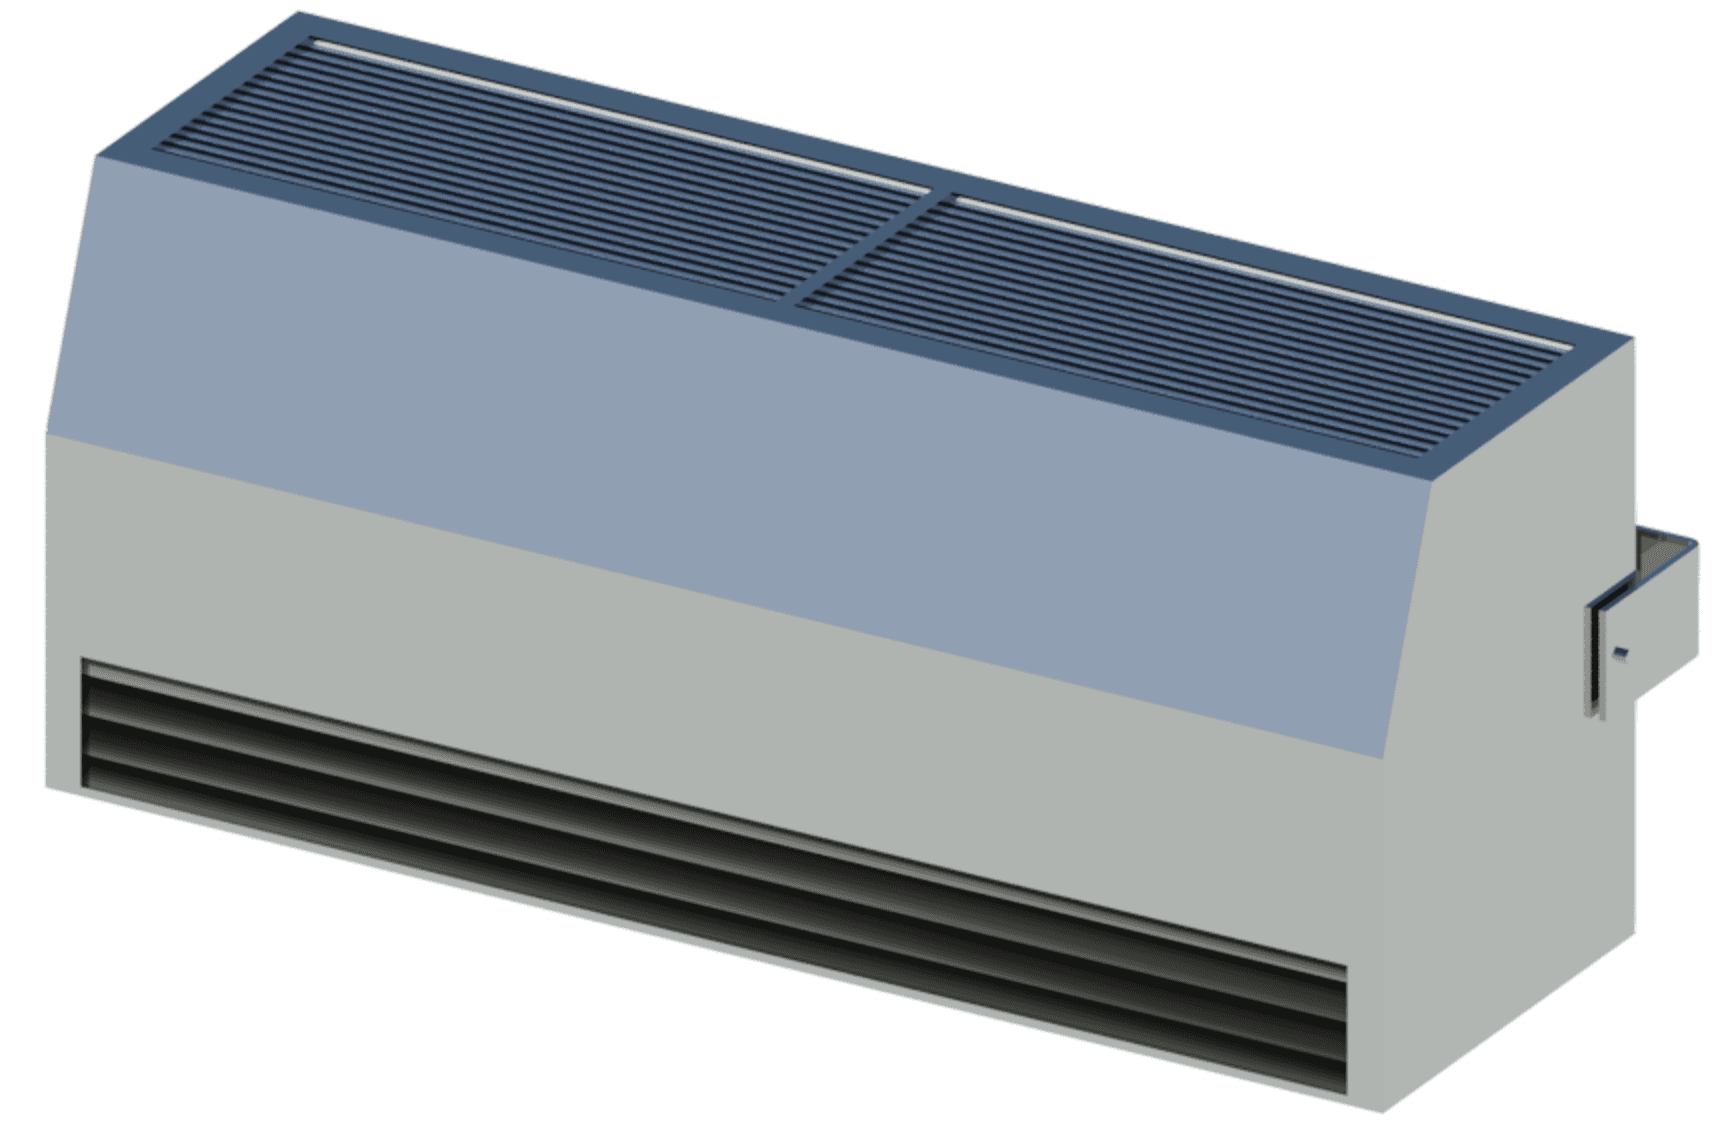
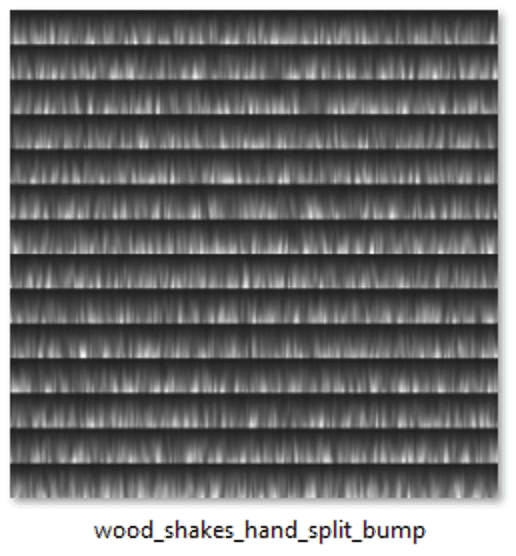
Last year we finally created a nice louver material, as seen below in this air curtain from Miniveil. This louver uses a wood cladding bump image from Revit’s standard material library. You can stretch the asset to essentially remove the wooden grain, leaving a series of gradients from black to white.
With an appropriate depth applied to the bump, this then creates the louver’s series of blades at 45 degrees. We can adapt this material to suit different blade heights and reuse it in many projects to come, saving countless hours modeling blade extrusions.
Context matters
It’s important to note that the aim of using materials instead of geometry isn’t to create something that looks photo-realistic or something that rivals a detailed model in Inventor or 3D Studio Max. The aim is to bring enough detail at the desirable scales – to visually suggest the real thing and give an impression of the material at a distance.
Dabs of red paint don’t mean much when you’re zoomed in to them in a painting.
But when put into the context of the whole work of art and seen from an appropriate distance they take on a whole new meaning. Keep this in mind when using materials in Revit.
Keep this in mind when using materials in Revit. We may not be creating priceless works of art like Monet, but we can create beautiful content that effectively portrays the real thing and performs brilliantly in Revit projects.
Need content?
If your company is looking for quality Revit content at an affordable price, give us a shout at hello@kinship.io. We'll be happy to provide a free, no-obligation quote.


Kinship
The best way to manage Revit content
Kinship
The best way to manage Revit content
Kinship
The best way to manage Revit content
Similar Articles


Never miss an update with our monthly newsletter
Get the latest company news, product updates, blog posts and free Revit content from Kinship. Delivered directly to your inbox no more than once a month.
By submitting your email, you agree to receive newsletter emails.
Support
Never miss an update with our monthly newsletter
Get the latest company news, product updates, blog posts and free Revit content from Kinship. Delivered directly to your inbox no more than once a month.
By submitting your email, you agree to receive newsletter emails.
Support
Never miss an update with our monthly newsletter
Get the latest company news, product updates, blog posts and free Revit content from Kinship. Delivered directly to your inbox no more than once a month.
By submitting your email, you agree to receive newsletter emails.
Support